


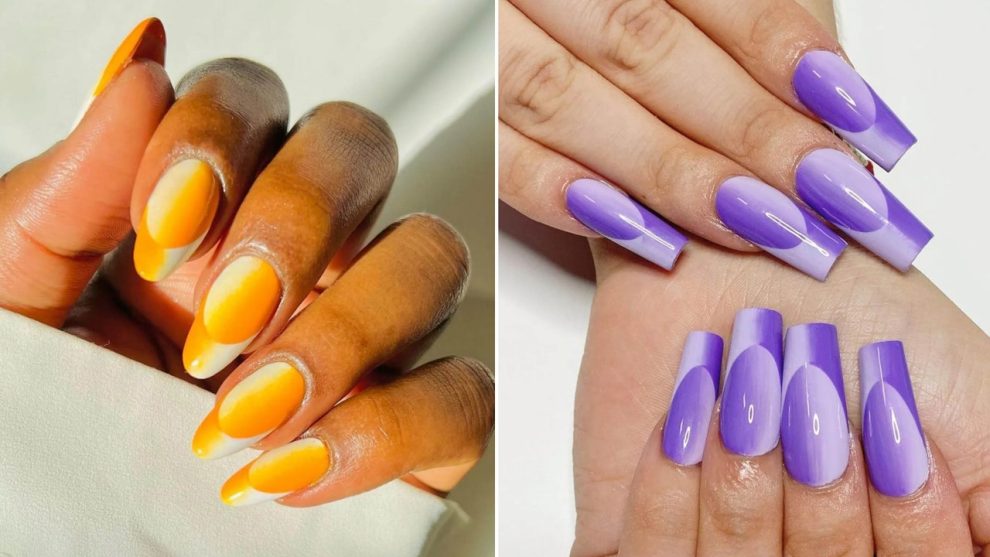
- 2 nail polishes
- 1 ombré brush or make-up sponge
- 1 brush designated for clean-up
- Acetone-based nail polish remover
- Paper gap reinforcements
Step 1: Prep your nails. File them to your most popular form and push again your cuticle. Then, apply a base coat.
Step 2: Paint one aspect of your nail. Sweep on the primary shade of your gradient. Don’t fear, the polish can lengthen to your suggestions.
Step 3: Paint the opposite aspect of your nail. Apply the second shade of your gradient, making certain the 2 hues meet within the center.
Step 4: Blur. Create the ombré impact by tapping the world the place the 2 colours meet with a sponge or brush.
Step 5: Dry. Be certain your nails dry fully. This could take from between 5 to 10 minutes.
Step 6: Prep to create the second gradient. Rigorously place a gap reinforcement — you realize, a type of stickers you used to ensure your hole-punched notes would not rip out of your binder — onto your nail the place you’d like your designed tip to start.
Step 7: Repeat steps two via 4 alongside the tip of your nail. Once more, your gradients must be reverse of one another. (If the bottom of the nail encompasses a darkish to mild gradient, then the tip ought to function a lightweight to darkish one.)
Step 8: Apply your high coat.


Add Comment